Luxury Custom Kitchen Cabinetry Design Ideas

Modern kitchens are no longer built around generic layouts or one-size-fits-all storage solutions. Homeowners increasingly want kitchens that feel personalized, highly functional, and visually connected to their everyday lifestyle. That growing demand is why DreamLine Custom Cabinetry has become an important part of luxury kitchen remodeling focused on individuality and long-term functionality.
Custom cabinetry goes far beyond selecting colors or cabinet door styles. It allows homeowners to shape how the kitchen flows, how storage functions, and how the entire space supports modern living. Every detail can be designed around comfort, organization, aesthetics, and daily habits.
Why Personalized Cabinetry Is Becoming More Important
Homeowners today expect kitchens to support multiple functions simultaneously.
Modern kitchens often serve as:
- Family gathering spaces
- Entertainment hubs
- Remote work environments
- Meal preparation zones
- Storage centers
- Architectural focal points
Because kitchens are used so differently from household to household, personalized cabinetry helps create solutions that feel more natural and efficient for everyday life.
What Makes Custom Cabinetry Different?
Designed Around Specific Lifestyle Needs
Custom cabinetry allows homeowners to create storage systems based on how they actually use their kitchens rather than adapting to standardized layouts.
Personalized cabinet features may include:
- Integrated pantry systems
- Custom appliance storage
- Dedicated coffee stations
- Specialized organization drawers
These solutions improve both kitchen efficiency and long-term convenience.
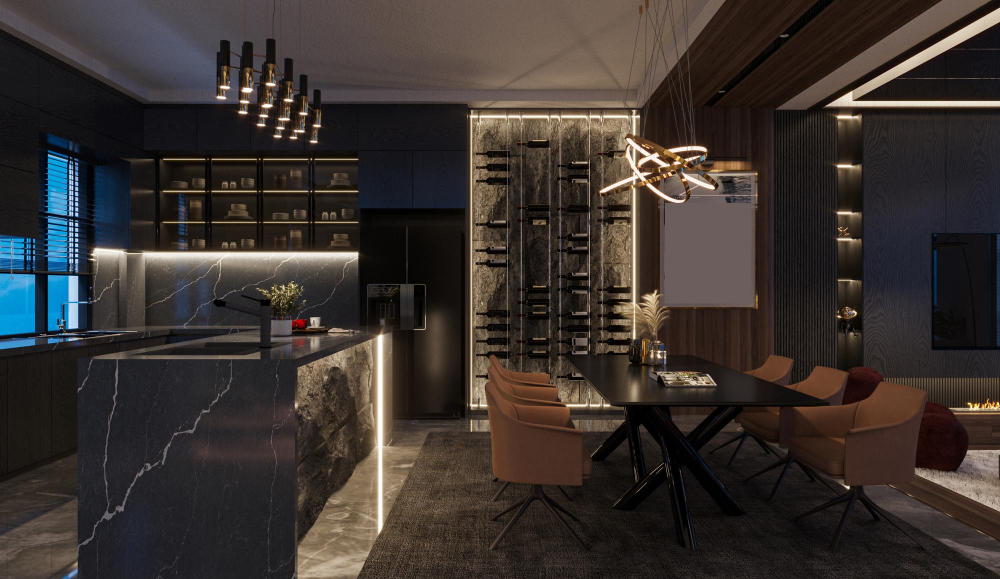
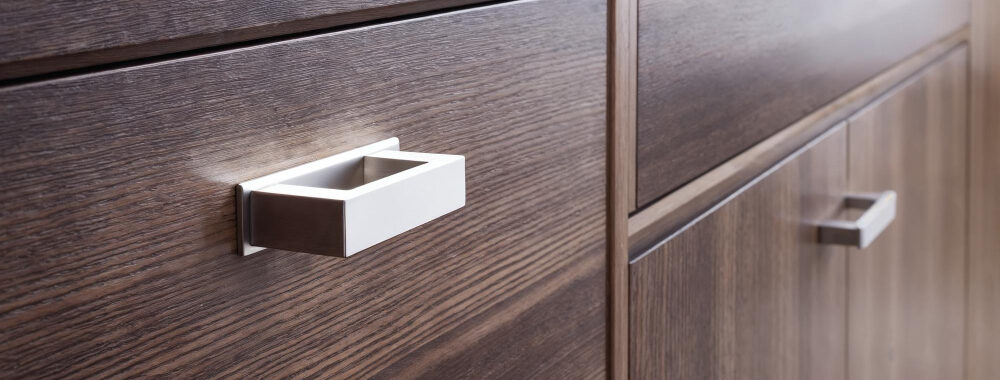
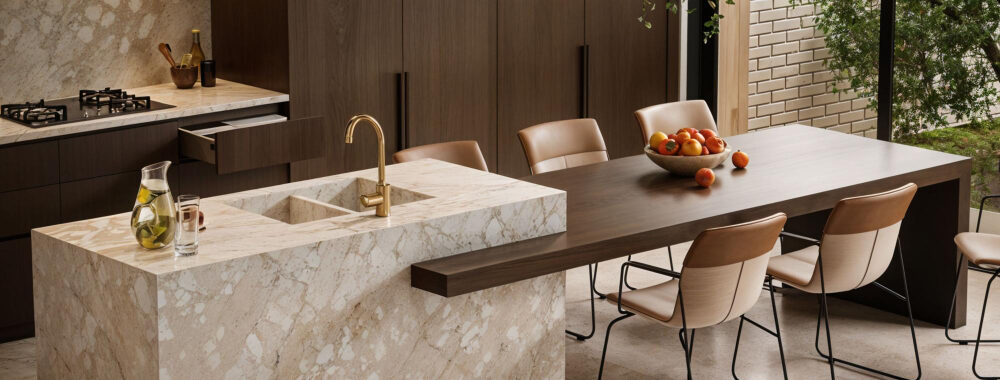
Architectural Design Integration
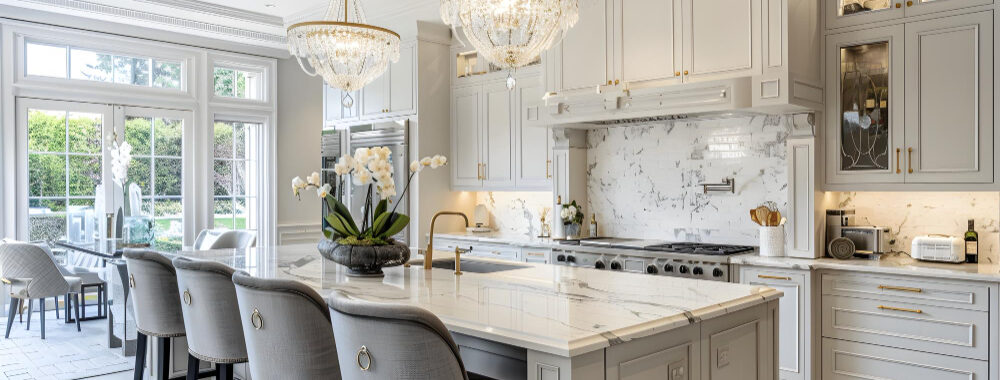
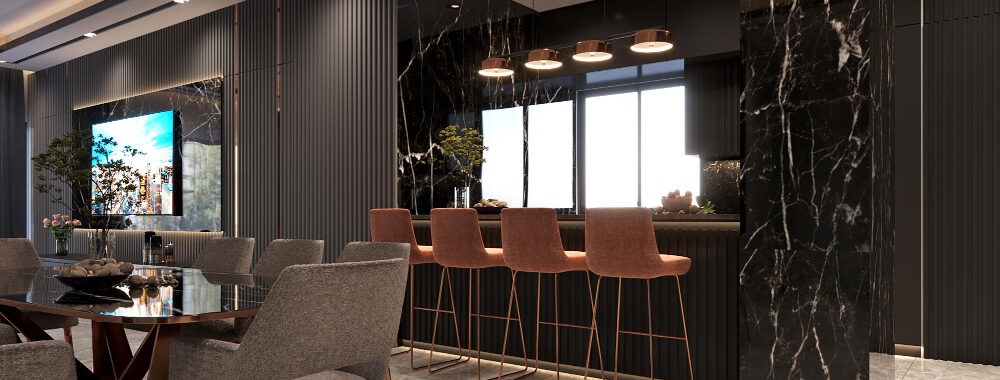
Modern cabinetry increasingly functions as a major architectural feature within the kitchen.
Luxury cabinet systems may include:
- Floor-to-ceiling cabinetry
- Integrated lighting systems
- Seamless hidden storage
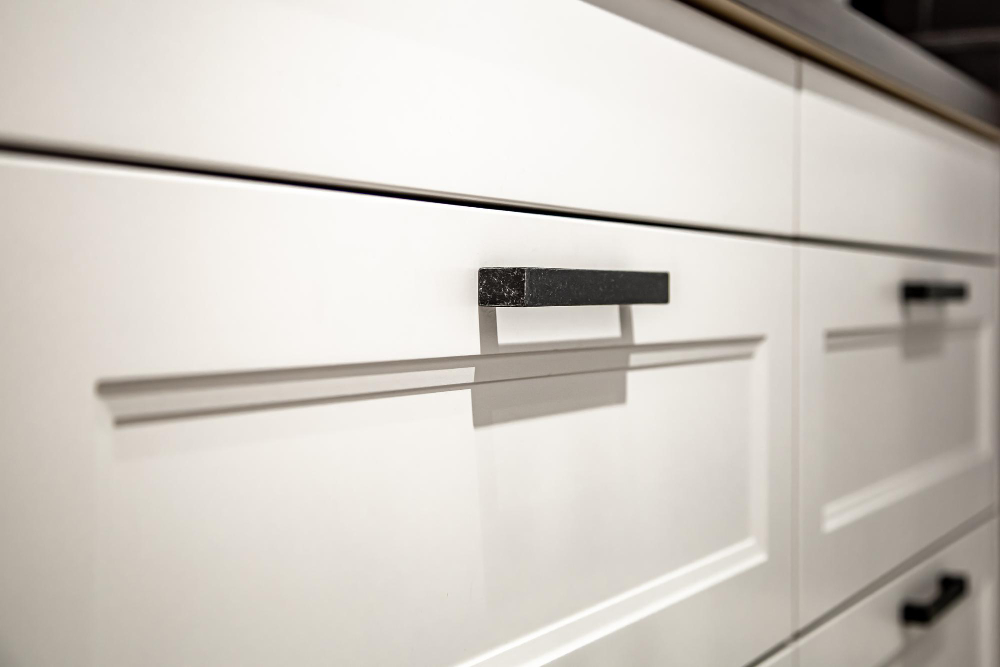
- Minimalist handle-free designs
These details help kitchens feel more cohesive and visually sophisticated.
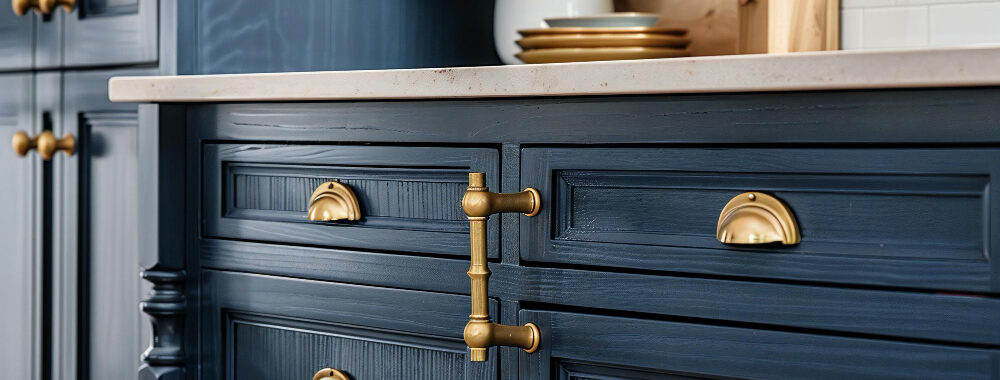
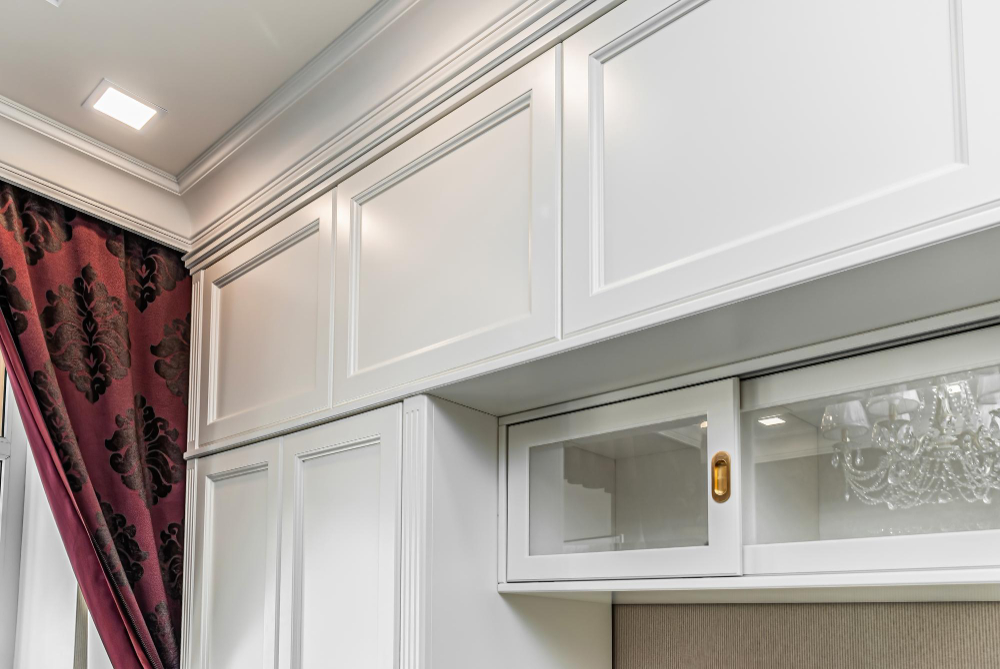
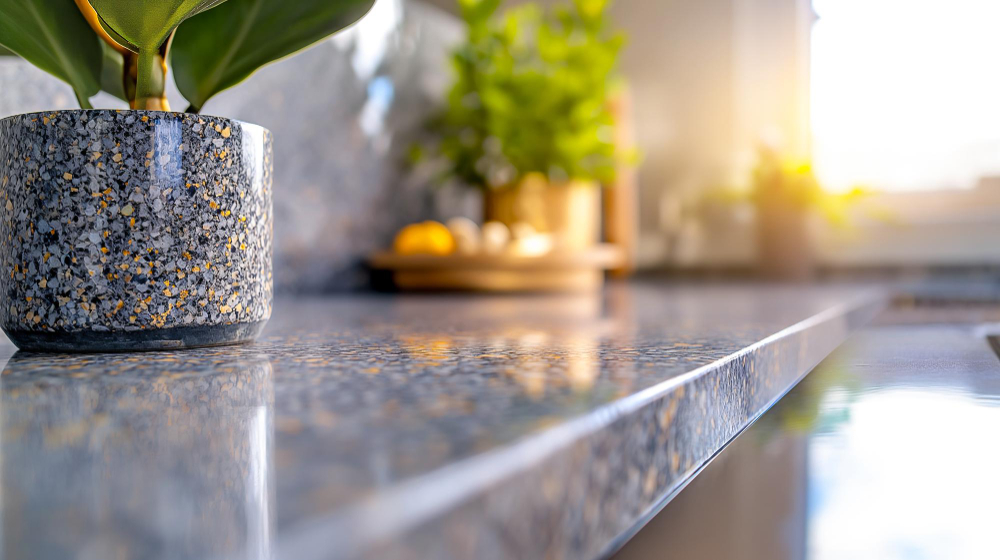
Material and Finish Customization
Custom cabinetry offers extensive flexibility in texture, color, and finish selection.
Popular luxury finish options often include:
- Natural wood veneers
- Soft matte lacquers
- Textured designer surfaces
- Warm neutral color palettes
These combinations help kitchens feel both modern and inviting.
How Custom Cabinetry Improves Everyday Living
Professionally designed DreamLine Luxury Cabinetry improves how homeowners interact with the kitchen every single day.
Improved Kitchen Organization
Personalized storage planning helps reduce clutter and improve accessibility throughout the kitchen.
Smart organization systems may improve:
- Cooking preparation efficiency
- Appliance accessibility
- Pantry organization
- Countertop cleanliness
Better organization creates calmer and more functional kitchen environments.
More Comfortable Daily Workflow
Cabinet layout directly affects how homeowners move through the kitchen during daily routines.
Personalized layouts help support:
- Efficient movement patterns
- Reduced kitchen congestion
- Better storage accessibility
- Smoother cleanup routines
These details improve comfort and long-term kitchen usability.
Greater Emotional Connection to the Space
Personalized design often creates a stronger sense of satisfaction and comfort within the home.
Custom cabinetry helps homeowners create kitchens that feel:
- More intentional
- More organized
- Visually balanced
- Unique to their lifestyle
This emotional connection plays a major role in modern luxury remodeling.
Luxury Cabinetry Trends Influencing Modern Kitchens
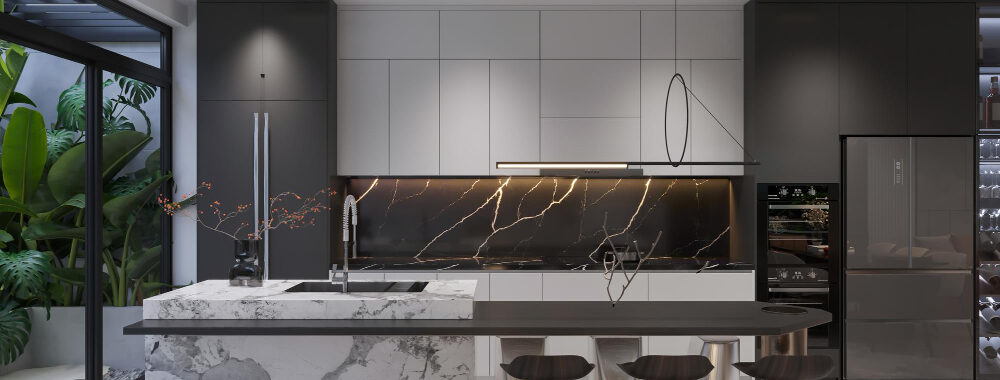
Warm Minimalist Design
Contemporary luxury kitchens increasingly combine minimalist layouts with warmer natural textures.
Popular warm-minimalist features include:
- Wood-grain cabinet finishes
- Integrated ambient lighting
- Soft neutral palettes
- Handleless cabinet systems
These combinations create kitchens that feel elegant yet welcoming.
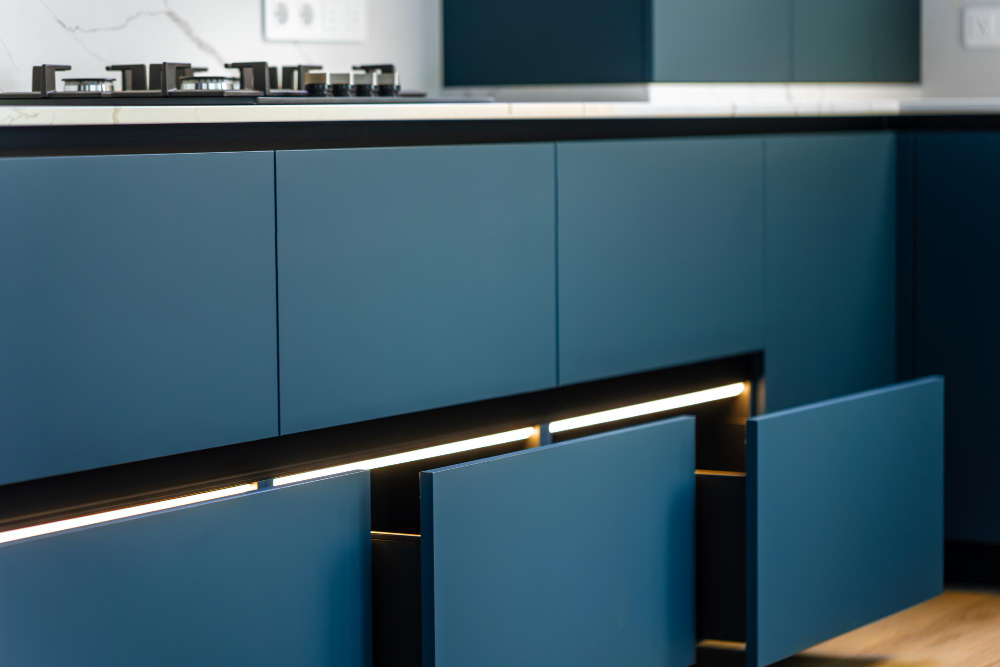
Integrated Hidden Storage
Modern luxury kitchens increasingly prioritize concealed organization systems that reduce visual clutter.
Hidden storage features may include:
- Appliance garages
- Pull-out pantry systems
- Hidden charging stations
- Integrated recycling compartments
These systems help maintain clean and streamlined kitchen aesthetics.
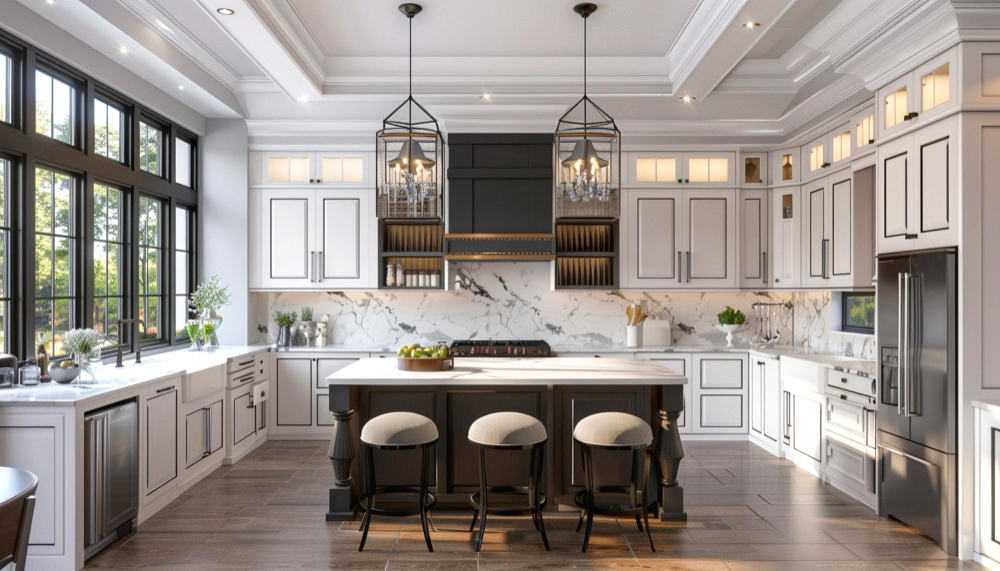
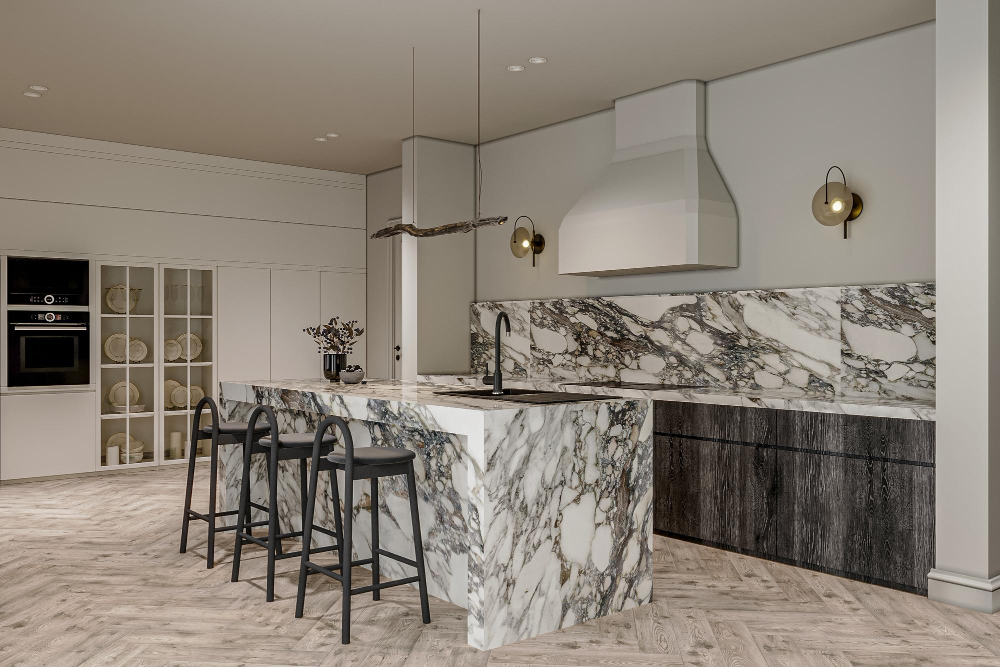
Statement Cabinet Architecture
Cabinetry is increasingly being used to shape the architectural identity of the entire kitchen.
Modern statement cabinetry trends may include:
- Oversized vertical panels
- Floating cabinet sections
- Mixed material combinations
- Integrated lighting accents
These features help create highly customized luxury interiors.
Why Professional Cabinet Design and Installation Matter
Luxury custom cabinetry requires careful planning, accurate measurement, material coordination, and highly precise installation.
Experienced professionals help ensure:
- Perfect cabinet alignment
- Efficient storage planning
- Reliable hardware functionality
- Long-term structural durability
- Consistent finish quality
Precision craftsmanship directly affects both functionality and luxury visual appeal.
The Long-Term Value of Custom Cabinetry
Kitchens strongly influence how homeowners and buyers perceive overall residential quality and sophistication.
Professionally completed DreamLine Signature Cabinetry projects often improve:
- Kitchen organization
- Architectural sophistication
- Everyday comfort
- Luxury residential appeal
- Long-term property value
These upgrades help create kitchens that feel highly personalized, visually elevated, and built for long-term living.
The Future of Luxury Kitchen Design
Modern kitchen remodeling increasingly focuses on personalization, functionality, and emotional comfort rather than purely decorative design. Custom cabinetry continues evolving into one of the most important tools for creating kitchens that truly support modern lifestyles.
From integrated hidden storage and warm minimalist aesthetics to personalized organization systems and architectural cabinet layouts, luxury custom cabinetry is helping redefine the future of modern kitchen living.