Compact Surface Countertop Specialist in Garwood ID: Modern Solutions

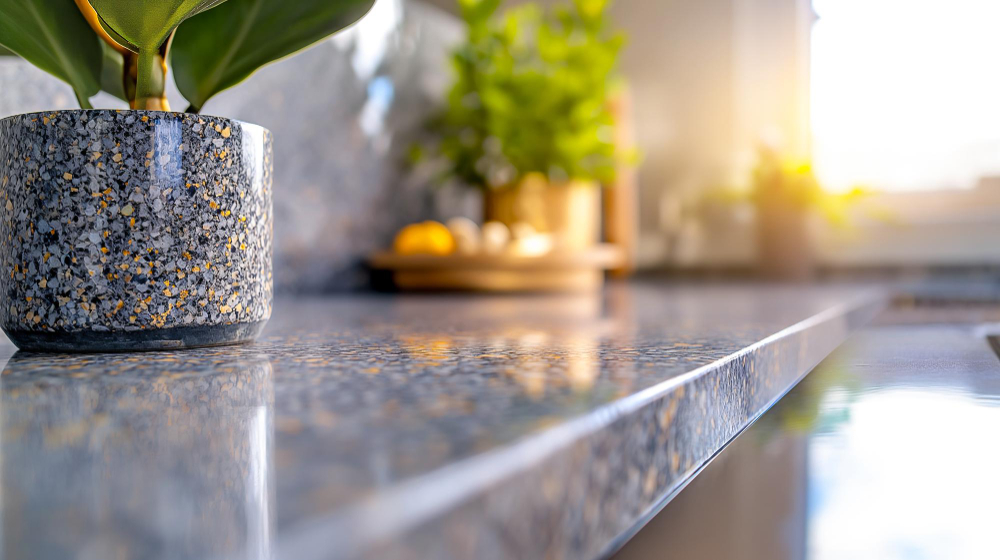
Working with a Compact Surface Countertop Specialist in Garwood ID is one of the best ways to upgrade your kitchen or bathroom with a sleek, durable, and low-maintenance surface. Compact surface materials, often referred to as ultra-compact surfaces, are engineered for strength, longevity, and modern design appeal.
Homeowners in Garwood are increasingly choosing compact surfaces because they offer a balance between high-end aesthetics and practical performance. These materials are ideal for busy households that require durability without sacrificing style.
What Are Compact Surface Countertops?
Compact surface countertops are created using advanced manufacturing techniques that combine natural minerals under extreme heat and pressure. A Compact Surface Countertop Specialist in Garwood ID ensures proper fabrication and installation for optimal results.
Core Features
- Extremely durable and scratch-resistant
- Non-porous surface that resists stains and bacteria
- Heat and UV resistance
- Slim, modern design profile
These characteristics make compact surfaces an excellent choice for both kitchens and bathrooms.
Durability for Everyday Use
Compact surfaces are designed to withstand heavy use, making them ideal for high-traffic areas.
Performance Benefits
- Resistant to extreme temperatures
- Highly resistant to scratches and impact
- Long lifespan with minimal wear
A Compact Surface Countertop Specialist in Garwood ID can help you select the best material for your needs.
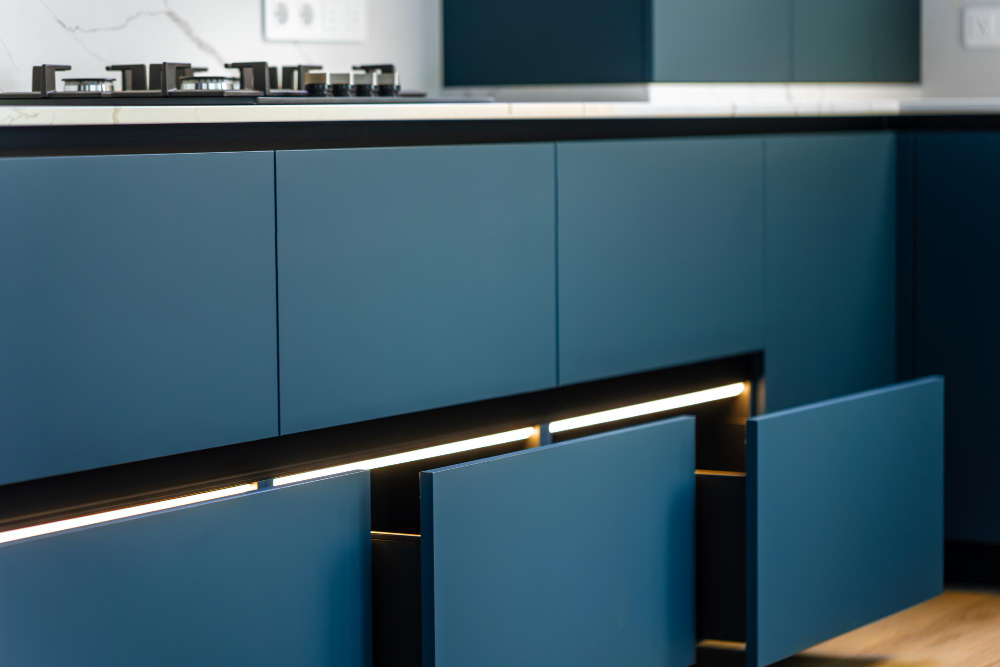
Modern Design and Aesthetic Appeal
One of the biggest advantages of compact surfaces is their ability to create a clean and contemporary look.
Design Advantages
- Wide range of colors and finishes
- Seamless and minimalist appearance
- Compatible with modern and luxury interiors
These features make compact surfaces a popular choice for contemporary home designs.
Low Maintenance and Hygiene
Compact surfaces are known for their easy maintenance and hygienic properties.
Maintenance Benefits
- No sealing required
- Simple cleaning with mild products
- Resistant to mold and bacteria
These qualities make them ideal for kitchens and bathrooms where cleanliness is essential.
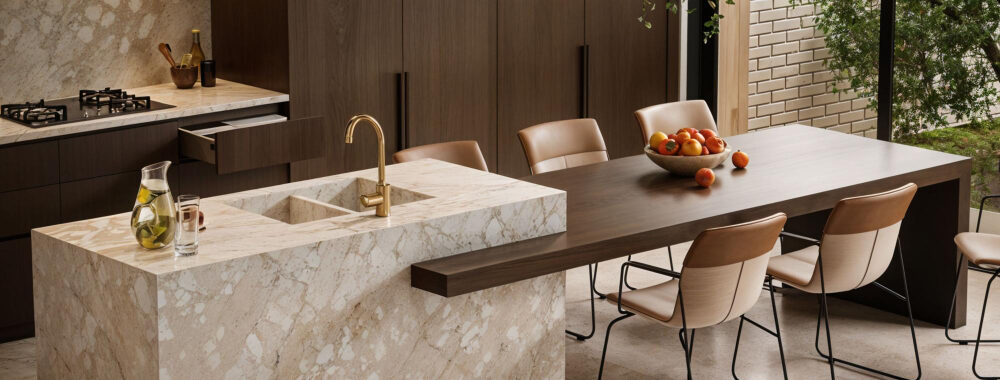
Versatility in Applications
Compact surface materials can be used in a variety of ways throughout your home.
Common Uses
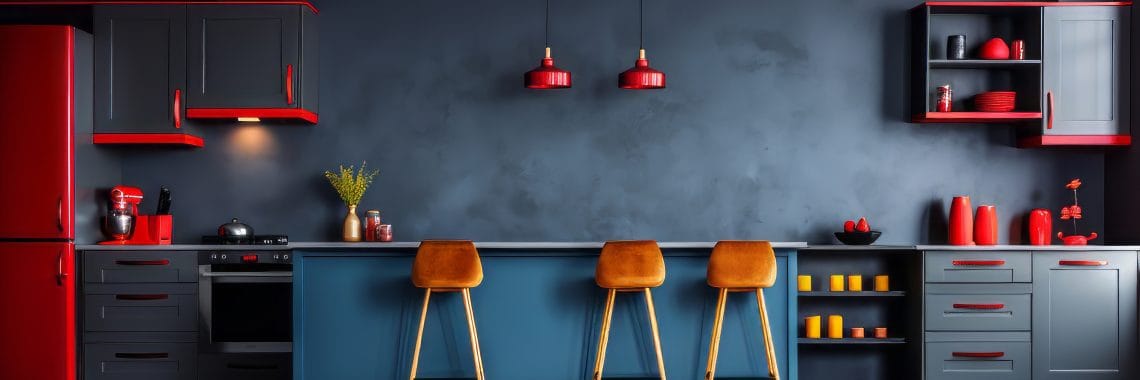
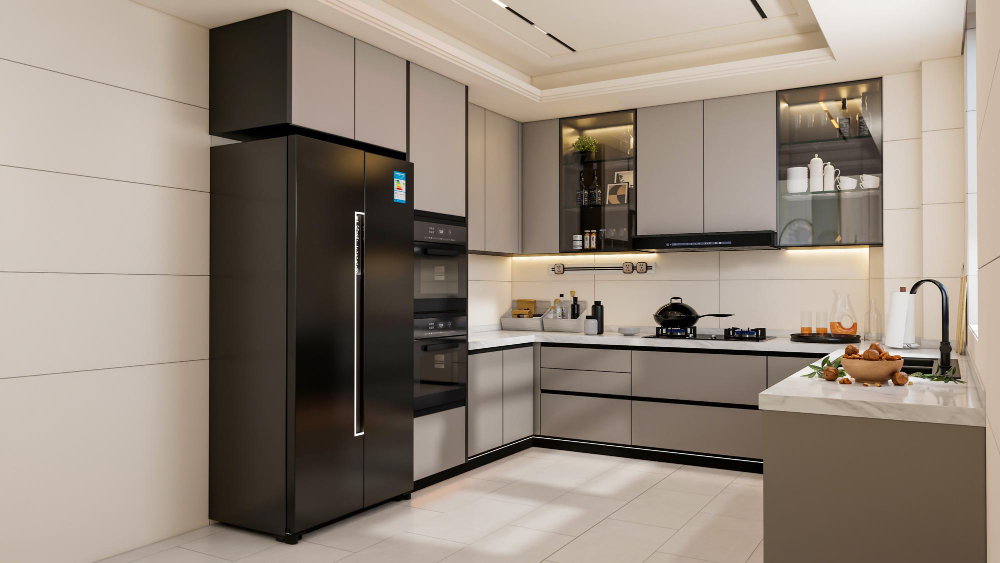
- Kitchen countertops and islands
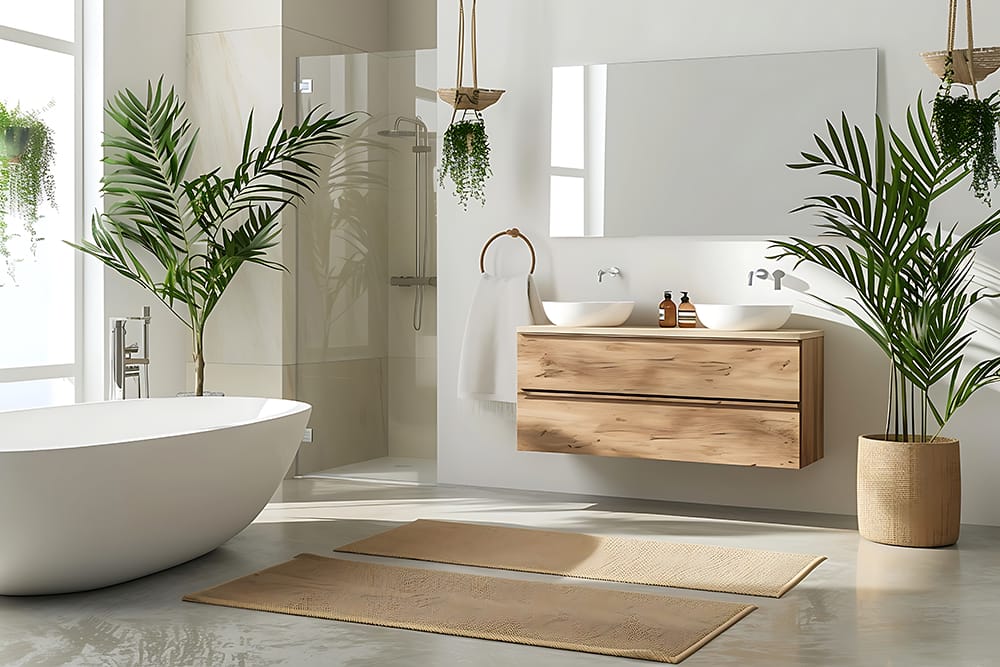
- Bathroom vanities
- Backsplashes and wall cladding
- Outdoor kitchen surfaces
Working with a licensed home remodeling contractor in Garwood ID ensures these materials are integrated effectively into your design.
Cost vs Long-Term Value
While compact surfaces may require a higher initial investment, their durability and low maintenance offer excellent long-term value.
Value Benefits
- Reduced maintenance costs
- Long lifespan without frequent repairs
- Premium appearance that increases home value
Investing in high-quality materials ensures lasting performance.
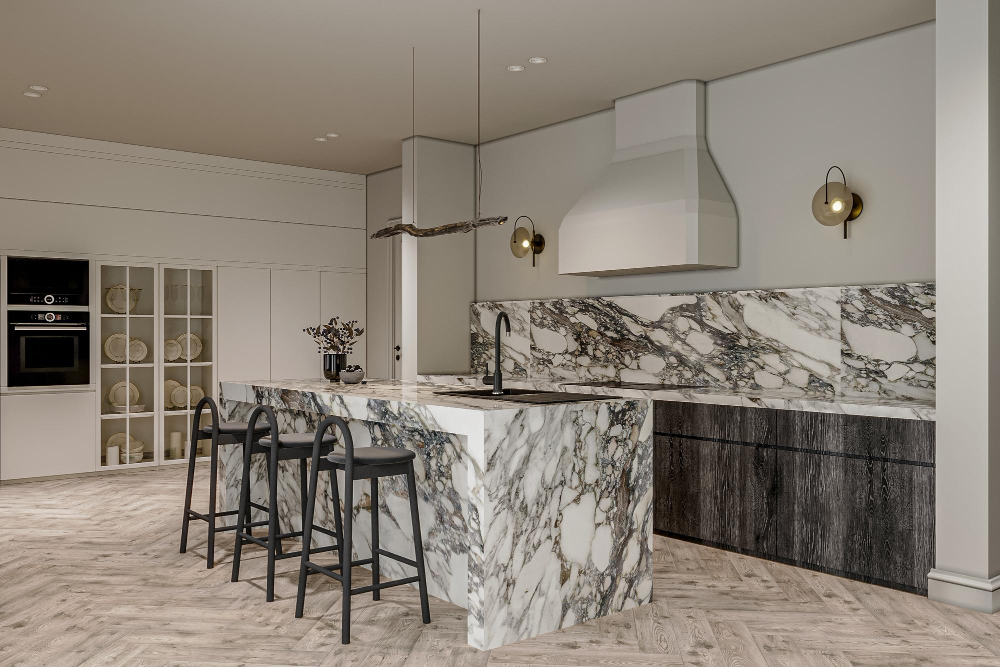
Enhancing Your Remodeling Project
Countertop upgrades often work best when combined with other home improvements.
Many homeowners collaborate with an Expert Home Builder to incorporate compact surfaces into broader renovation projects.
Installation Process and Precision
Proper installation is essential for maximizing the benefits of compact surface countertops.
Installation Steps
- Accurate measurements and templating
- Precision cutting and fabrication
- Secure installation and finishing
A Compact Surface Countertop Specialist in Garwood ID ensures each step is completed with precision and care.
Final Thoughts
Compact surface countertops offer a perfect combination of durability, modern design, and low maintenance. They are an excellent choice for homeowners looking to upgrade their space with high-performance materials.
By working with a Compact Surface Countertop Specialist in Garwood ID, you can achieve a stylish and functional upgrade that enhances your home’s value and usability.