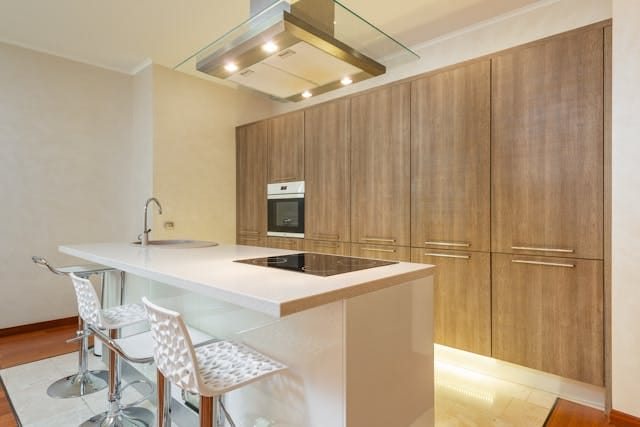
Let me tell you about the time I walked into a kitchen that looked great—on the surface. The cabinets were recently “refaced,” according to the homeowners. But within five minutes of inspecting, I could see the peeling veneer, uneven doors, and corners that were already lifting. It wasn’t just a bad job—it was a waste of money.
If you’re thinking about how to reface kitchen cabinets, the idea is solid: save money, skip a full gut renovation, and give your kitchen a fresh new look. But here’s the truth: most people do it wrong. Either they cut corners, use the wrong materials, or skip prep work. So, let’s walk through how to do it the right way—with a little storytelling, a lot of honesty, and my step-by-step breakdown.
🧱 Step 1: Know What Refacing Actually Means
This is where a lot of people get confused. Refacing isn’t just slapping on new cabinet doors. A proper refacing job includes:
Replacing all cabinet doors and drawer fronts
Covering existing cabinet boxes with veneer, laminate, or wood panels
Swapping out hardware (hinges, handles, pulls)
Optional: adding crown molding or trim for a custom look
What it’s NOT: painting the doors and calling it a day. That’s called repainting—not refacing. Big difference.
🛠 Step 2: Inspect Your Cabinet Structure First
Before you think about finishes or colors, look underneath. Ask yourself:
Are the cabinet boxes solid?
Is the frame made from real wood or MDF?
Is there any water damage or warping?
If your cabinets are weak, soft, or falling apart inside, don’t waste your time or money on refacing. Fix the foundation first. As I always say: “Make it right, or don’t do it at all.”
🧽 Step 3: Clean and Sand Everything
This is the step most people skip—and it shows. Kitchen cabinets live a hard life: grease, fingerprints, spills, and years of gunk. Before applying any veneer or adhesive panels, you must clean and sand every inch.
Degrease with a heavy-duty cleaner
Lightly sand all surfaces to help adhesion
Wipe clean with a tack cloth
Trust me, this step determines whether your refacing will last 10 years or peel off in 6 months.
🪵 Step 4: Choose the Right Materials
Here’s where homeowners get overwhelmed. Laminate? Thermofoil? Solid wood veneers?
My recommendation:
Real wood veneer for a warm, high-end look
Rigid thermofoil for a budget-friendly but durable option
Avoid ultra-thin films or cheap stick-on options—they don’t hold up
Always make sure your material is moisture-resistant and rated for kitchen use. Kitchens get steamy, and cheap materials just won’t last.
🧰 Step 5: Precise Application—No Shortcuts
Installing veneer or panels takes patience and accuracy. Here’s how it’s done right:
Measure twice. Cut once.
Apply high-quality adhesive with even pressure.
Use a roller to remove bubbles and ensure contact.
Trim excess with a sharp utility knife.
Let everything cure properly—don’t rush the drying time.
I’ve seen people skip curing time and end up with warped panels. If you’re going to do it, do it like a pro.
🚪 Step 6: Upgrade the Hardware
Don’t reuse those old, squeaky hinges or dated knobs. New hardware is what makes your refaced cabinets feel new.
Soft-close hinges for drawers and doors
Sleek pulls or knobs in brushed nickel, matte black, or bronze
Consider pull-out shelves or interior lighting for a real upgrade
Small changes here make a big impact—and add serious functionality.
🚫 What Most People Get Wrong
Let’s be clear. These are the top mistakes I see over and over:
Skipping prep work (cleaning/sanding)
Using poor-quality adhesive
Not aligning doors properly
Cheap materials that don’t age well
Rushing the process
And the biggest one? Thinking they can cut corners and still get professional results. You can save money by refacing—but only if you do it right the first time.
✅ The Holmes-Approved Bottom Line
Refacing your kitchen cabinets can absolutely transform the heart of your home—without tearing it apart. It’s budget-friendly, eco-conscious, and smart… if done correctly.
Check your structure
Choose quality materials
Take your time
Hire a pro if you’re not 100% confident
Don’t just aim for “better.” Aim for done right. Because nothing’s worse than spending time and money—just to redo it all again next year.
📢 Ready to Give Your Kitchen the Upgrade It Deserves?
Refacing your kitchen cabinets is one of the smartest, most cost-effective renovations out there—if you treat it like a real project, not a weekend craft. Make the call, get expert help, and make it right from the start.
